6 Photos You Need From Your Branding Photoshoot

Learn more
I'm Angela
A bit of a unicorn: 18+ years of left brain analytics and right brain creativity, now channeled into websites and branding for creative entrepreneurs. My passion is helping women-owned businesses grow, without burning out and without having to choose between family and business.
INSTAGRAM
FACEBOOK

Your website is you. It is not a brochure, it is not a portfolio, it is the place where someone decides whether they want to work with you specifically. And before they read a single word of your copy, they are looking for your face. They want to see who they are buying from.
That is why a branding photoshoot is a website decision, not just a pretty one. The photos you plan for are the photos your site gets built around.
So let’s explore the six photos you need from your next branding photoshoot, and exactly where each one goes on your website.
Why Your Branding Photoshoot Does More Work Than You Think
Before anyone reads a word of your website copy or your latest caption, they are looking at your photos and making a decision.
Does this feel professional? Do I trust her? Do I like her vibe?
That happens in about three seconds, and it happens whether you planned for it or not. Your photos are the first sentence of your sales pitch, even when you have not said anything yet.
There is a practical side too. Good brand photos make your marketing so much easier. Instead of digging through your camera roll on a Tuesday night looking for something to post, you have a library ready to plug into your website hero section, your about page, your service pages, your Instagram, your newsletter, your freebies, your slides.
When you plan your photos around how you actually market, content creation stops feeling like starting from zero every single week.
1. The Hero Image For Your Website
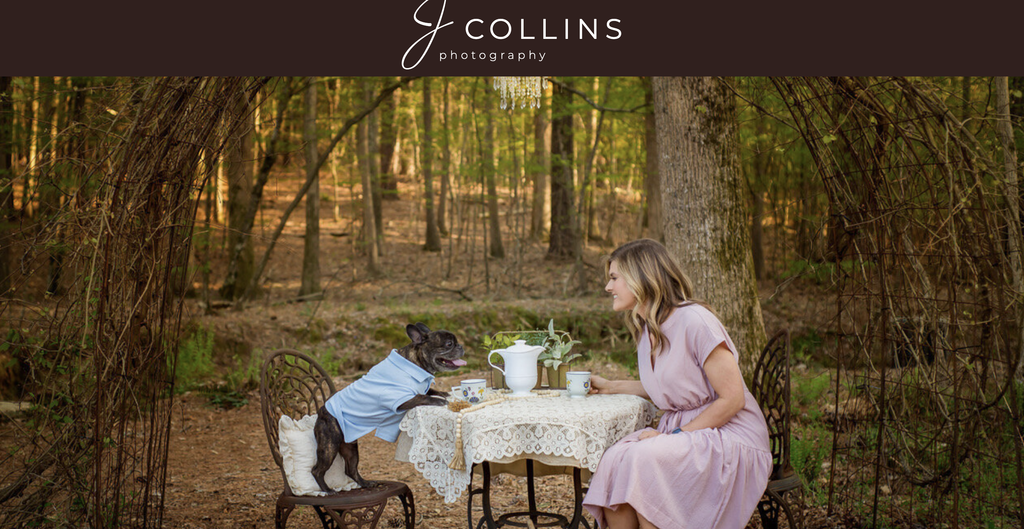
Your hero image is the photo at the very top of your home page, and it works harder than any other image you own.
It needs to say who you are, hint at what you do, and match the mood of your brand, all in one glance. Think cover photo, not tight headshot.
What makes a strong one:
- A wider, horizontal shot with open space on the left or right where your headline and button can sit
- You in a clean, well lit space that fits your brand, whether that is a studio, your office, a cozy couch, or a client space
- Looking at the camera or slightly off to the side so it feels warm and approachable
If your photographer crops in tight on every shot, your web designer has nothing to work with. Ask specifically for wide frames with negative space.
Before your shoot, decide what your website headline is going to say and how you want people to feel when they land there. Calm? Energized? Supported? Tell your photographer that word. It changes how she poses and frames you. Build a small mood board on Pinterest and send it over before the shoot so you are both working from the same feeling.
<< Related Post: What your home page actually needs >>
2. A Headshot That Actually Looks Like You

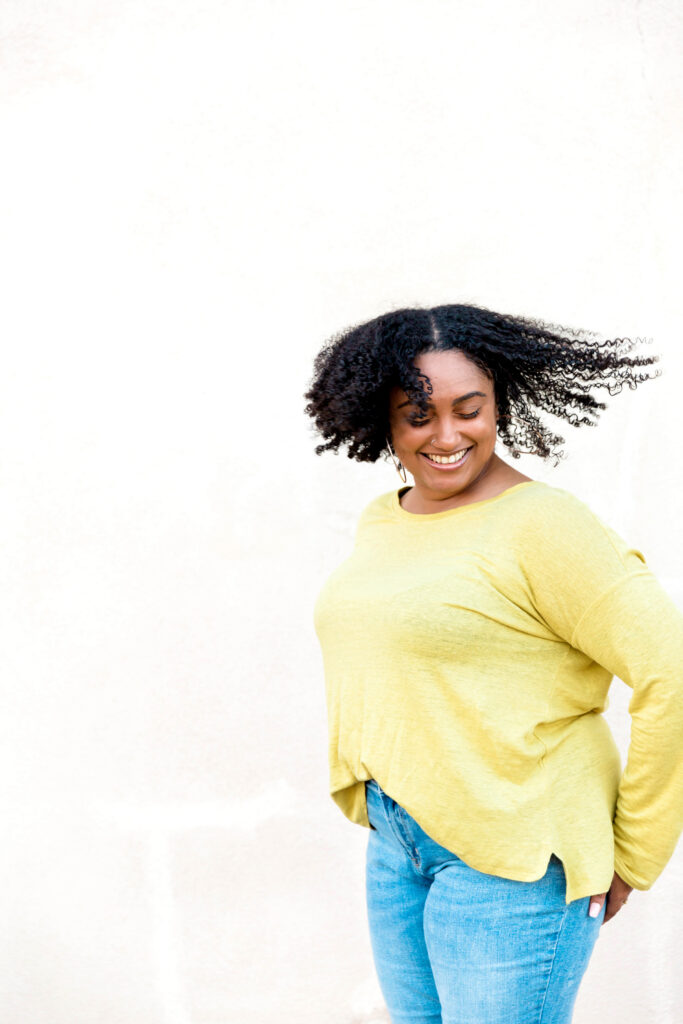
You still need a classic headshot. You do not need the stiff crossed-arms version.
This photo shows up everywhere: your about page, your social profiles, podcast features, guest bios, your Zoom picture. Because it works that hard, get a few versions in one session.
Try one with a soft smile, one mid-laugh, and one a little more serious. Grab both vertical and horizontal crops so you are not stuck when a platform wants a different shape.
A few things that make a headshot land:
- An outfit that is the elevated version of what you already wear, not a costume
- A clean background that matches your brand colors or general vibe
- Soft natural light, near a window, outside in the shade, or in a well-lit studio
The goal is not to look like a different person. It is to look like the best version of the one your clients are going to meet. If you are bubbly, let that show. If your brand is calm and grounded, let that show instead.
3. Behind the Scenes Working Shots
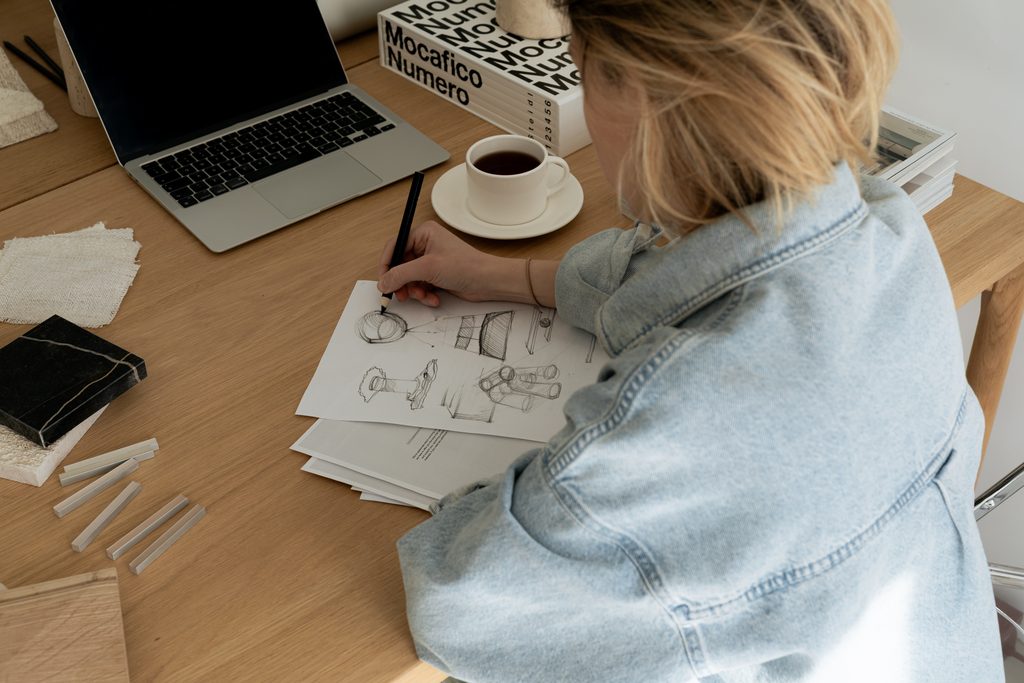
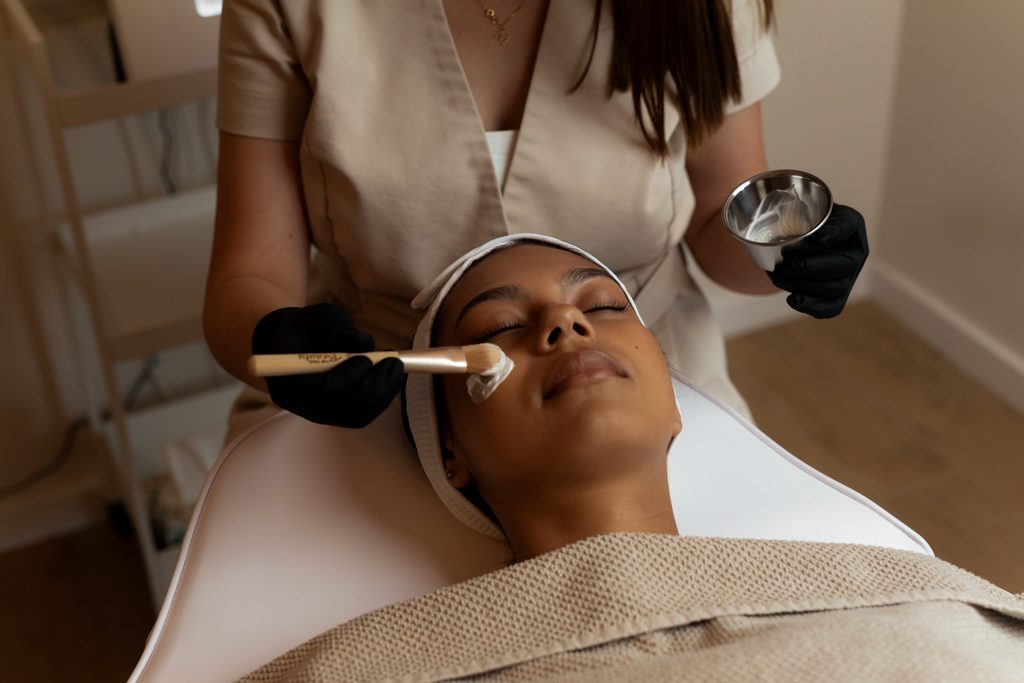
Your clients want to see you doing the thing, not just standing near it.
Working photos help someone picture what it would actually be like to hire you, which makes them powerful on sales pages and in social captions where you are explaining your process.
Think about what working looks like in your business:
- A designer sketching a layout or marking up a site
- A coach on a video call with a client
- A photographer shooting on location
- A maker in her studio, mid project
- A consultant writing, planning, mapping something out
These do not need to be perfectly posed. Let her catch you typing, laughing, pointing at your screen, checking your notes, talking with a friend standing in as your client.
Before the shoot, write down three to five steps of your process you want to show. That way you get a story instead of a pile of random laptop pictures.
4. Lifestyle and Environment Photos

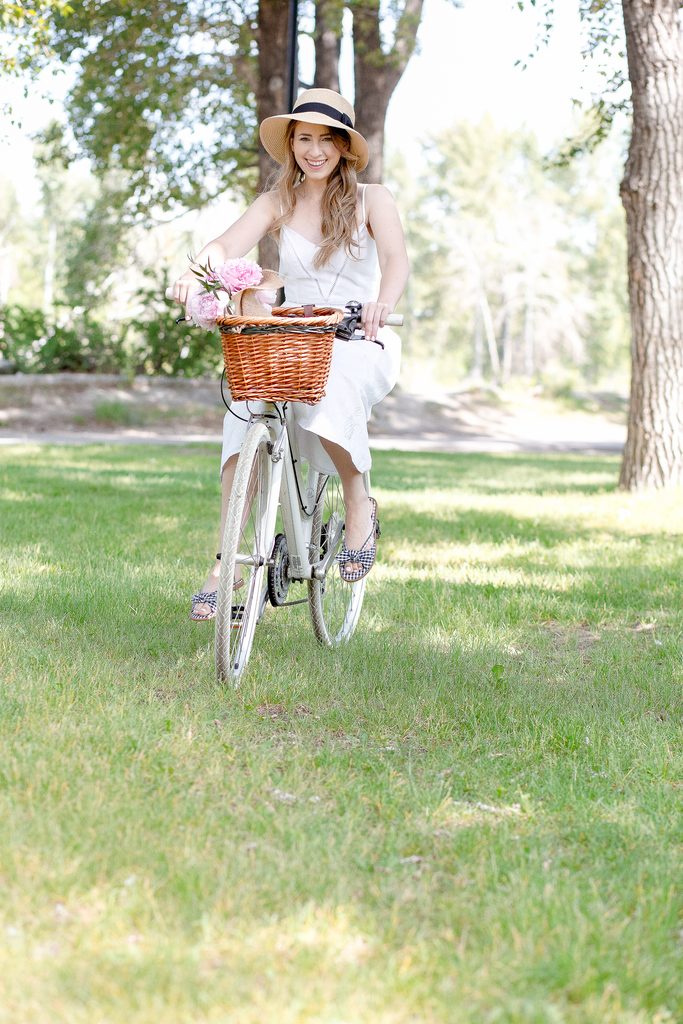

This is where your brand starts to feel like a person, not a logo.
Lifestyle photos put you in a real setting that reflects your actual life, not just you glued to a desk. Coffee shop with a notebook. Walking down the street with your bag. Curled up in a corner of your house. Somewhere in your town that feels very you.
These are the ones that perform on social media, because they are interesting to look at without shouting buy something.
When you plan them, think about:
- Locations that match your brand feel, whether that is minimal and modern, warm and cozy, or bold and colorful
- Props you genuinely use, like your planner, your mug, your headphones, your bag
- A mix of close-ups and wide shots so you have both intimate moments and roomier images
People hire people. Lifestyle photos are how strangers start to feel like they already know you.
On your website, these belong on your about page, in the story section of your home page, and anywhere you are trying to warm someone up before you ask them to book.
5. Detail Shots, Tools, and Flatlays
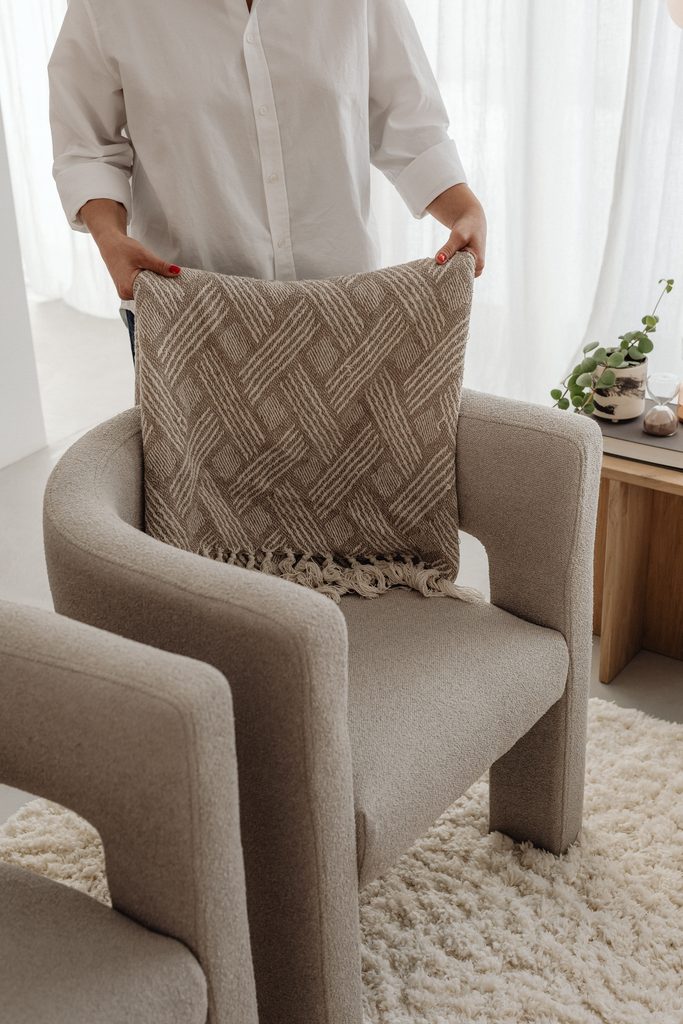
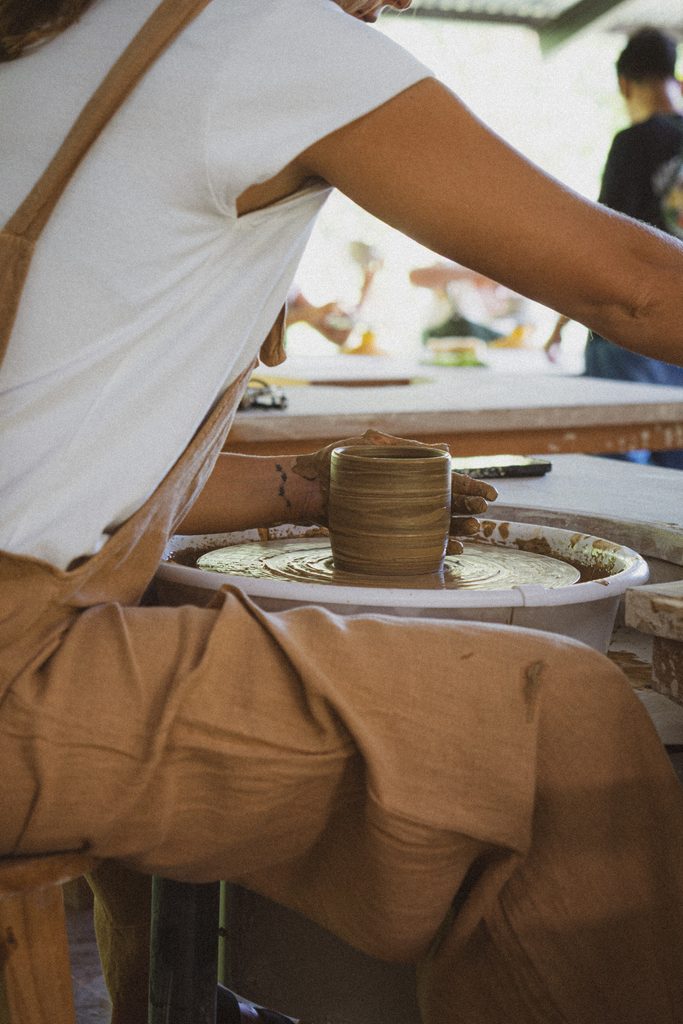
You should not have to put your face in every single post, and you do not have to.
Detail shots are the supporting cast of your photo library, and you will reach for them more often than you expect.
What to capture:
- Your tools, like your laptop, tablet, camera, notebooks, brushes, mic, or anything specific to your work
- Hands-only shots of typing, writing, sketching, holding a mug, flipping through a book
- Branded pieces like packaging, printed materials, business cards, color swatches
- Simple styled flatlays on a surface that matches your brand palette
These are perfect for blog headers, Pinterest graphics, carousel slides, website sections that need a visual break, newsletters, and digital products.
Ask your photographer for extra negative space on a handful of these so you can lay text over them later. Bring a small set of props that feel on brand so everything looks like it belongs together. Then plan where each one lands using the five pages every website needs.
6. Filler Photos For Everyday Content
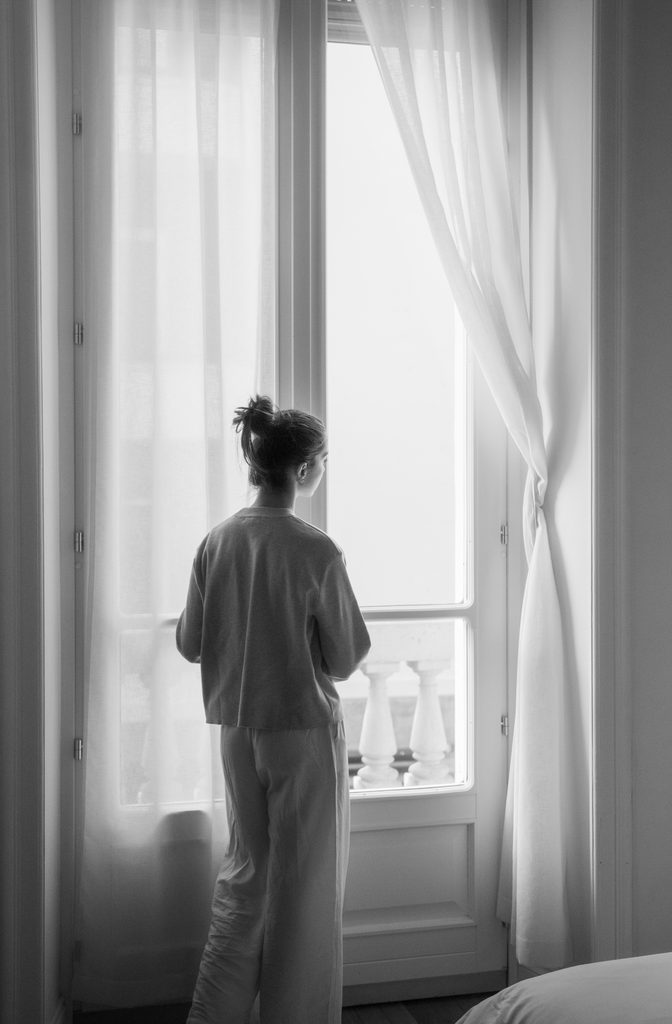


The last category is the one almost nobody plans for, and the one you will burn through fastest.
Filler photos are the in-between images. They don’t tell a full story on their own, but they save you when you are scheduling a week of content and need something to go with your words.
They look like:
- You looking off in the distance, laughing, or walking
- Cropped close-ups of your outfit, your hands, your desk
- Over-the-shoulder shots of your screen or notebook
- Environmental details like your office corner, signage, plants, a bookshelf, art on the wall
You will use these for caption-heavy posts, announcements, quick tips, quote graphics, testimonial backgrounds, and Reels or Stories covers.
Here is the question that will fill this category fast: what do I wish I had on my camera roll every time I sit down to schedule posts? Answer that honestly and tell your photographer.
How To Prep For a Branding Photoshoot
Knowing the six categories is the easy part. Planning for them is what keeps you from freezing up when the camera comes out.
Make a simple shot list. Group your ideas under the six categories above. You do not need to script every pose. You just need priorities so the important shots do not get skipped.
Tell your photographer where the photos are going. Refreshing your website? Launching an offer? Planning a content push? She will shoot differently if she knows you need vertical frames for Reels covers or extra space for headlines.
Plan outfits and locations around your brand. Two to four outfits that coordinate with your brand colors, one to three locations that match your style and your ideal client. Decide this ahead of time, not in the car on the way there.
Treat your photographer like a partner. Send her your brand, your goals, and this list before the shoot. The more context she has, the more she can pose and frame you in ways that serve your business, not just your grid for one week.
Common Questions About Branding Photoshoots
How many photos do I actually need from a branding photoshoot?
Most service business owners do fine with 40 to 60 usable images if they are spread across all six categories. Two hundred photos of the same three poses will not get you as far as 40 varied ones.
How often should I do a brand photoshoot?
Once a year is plenty for most people. If your look, your offers, or your space changes significantly, or you are launching something new, a shorter mini session in between fills the gaps.
What if I cannot afford a photographer right now?
Start with a tripod, your phone, and good window light, and shoot the same six categories. Progress beats waiting. You can upgrade to a professional branding photoshoot when the budget is there.
The Bottom Line
A branding photoshoot is not about getting some nice pictures of yourself. It is about walking in with a plan and walking out with a visual toolkit: a hero image that makes your website look intentional, a headshot that sounds like you, working shots that build trust, lifestyle photos that make you human, detail shots for your graphics, and filler images that keep your content moving.
Your time and money are limited. Planning for these six categories turns one afternoon into a year of marketing you do not have to scramble for.
Next time you book a photographer, bring this list with you. Future you, staring at a blank content calendar, will be so glad you did.
Beautiful photos deserve a website that knows what to do with them. If you are ready for a site built around your face, your story, and the way you actually sell, take a look our website in a week. I will help you turn that gallery into a website that brings you clients.
SHARE THIS POst
Leave a Reply
The beginner's checklist for building a list from zero.
no 02. | DOWNLOAD
Your Starter Guide To Building An Email List.
Download now
An interactive roadmap for showing up when people ask AI for a recommendation.
no 03. | Interactive roadmap
Get AI to Recommend Your Business
let's get started
Exactly what to ask clients so you get testimonials worth putting on your website.
no 01. | download
The Testimonial Blueprint
Download Now